Planning Guide
How to Plan a Kitchen Cabinet Renovation
(Step-by-Step Guide for Ontario Homeowners)
Kitchen Cabinet Blog • Ontario Homeowners
Planning a kitchen renovation can feel overwhelming, especially at the beginning. Many homeowners start by looking at colours or styles, only to realize later that the layout or storage does not actually meet their needs.
A better approach is to start with function and build from there. Before comparing cabinet types or deciding between refacing and replacing, it helps to get clear on how the space needs to work.
Step 1: Identify What Is Not Working
Before making design decisions, take a close look at your current kitchen. Pay attention to daily frustrations. This might include a lack of prep space, difficulty reaching items, or clutter that never seems to go away.
These small issues usually point directly to what needs to change. If you start here, later choices about finishes and style become much easier.
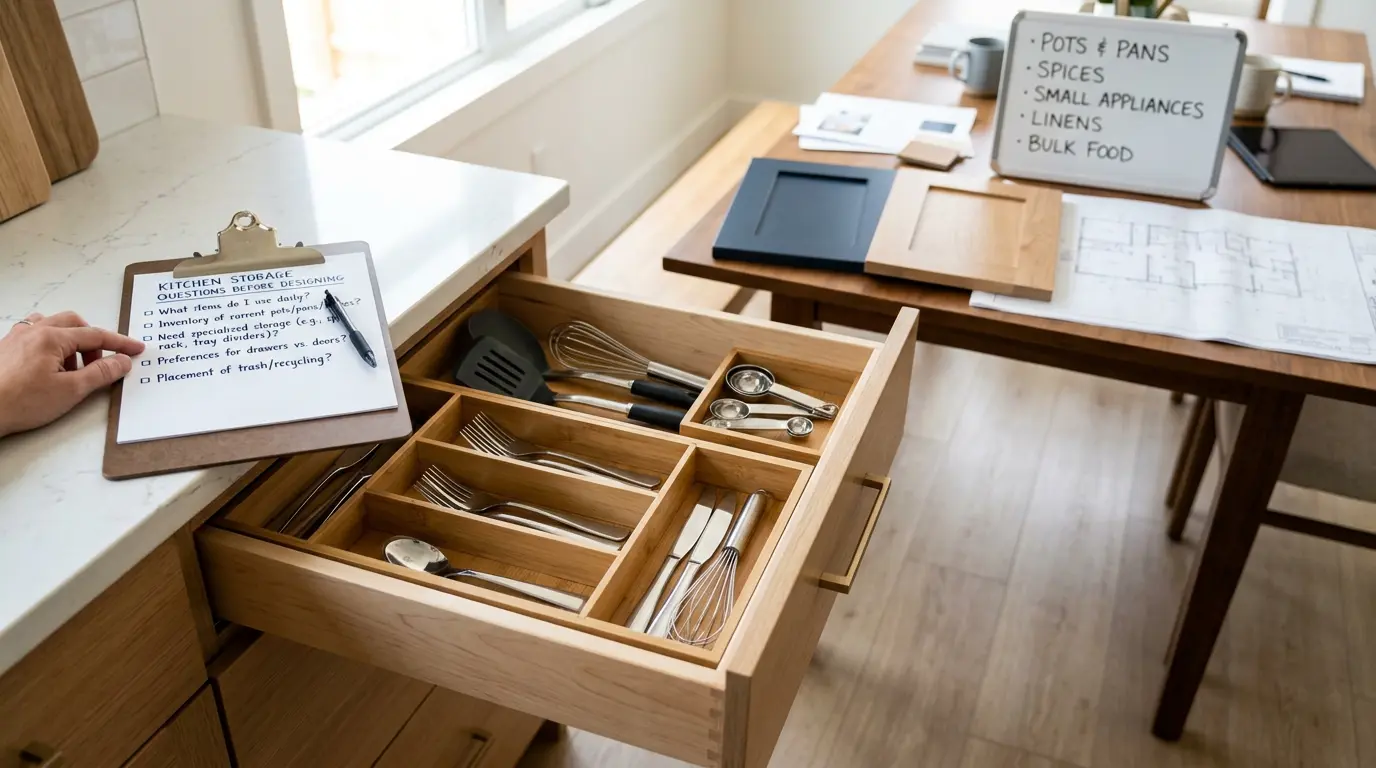
Step 2: Take Inventory of What You Store
A practical exercise is to go through each cabinet and drawer and note what is inside. Designing around real storage needs leads to much better results than guessing.
- Small appliances you use weekly or daily
- Pantry goods and food containers
- Cleaning products, recycling, and compost
- Serving pieces, baking tools, and overflow items
Step 3: Evaluate Your Layout
If the kitchen feels awkward or inefficient, the issue may be the layout rather than the cabinets themselves. In that case, a visual update alone may not solve the real problem.
Layout changes can improve flow, but they may also involve plumbing, electrical work, or permits in Ontario. That is why it helps to understand the difference between refacing and full replacement early in the process.
Step 4: Choose the Right Approach
Once you understand the space, it becomes easier to decide whether refacing, replacement, or full custom cabinetry makes the most sense. Your decision should be based on function first, with style following afterward.
If you are weighing flexibility, fit, and budget, the best next comparison is custom vs stock vs semi-custom cabinets.
Step 5: Set a Realistic Budget
Cabinetry typically represents a significant portion of a kitchen renovation. Understanding that early helps you prioritize spending and avoid surprises later.
For a practical breakdown of pricing ranges and cost drivers, read the Ontario kitchen cabinet cost guide.
Step 6: Speak With a Professional Early
Many homeowners wait too long to involve a professional. Early input can help avoid design mistakes, clarify realistic costs, and improve planning.
It also gives you a better sense of what is worth paying for. That is especially useful when reviewing cabinet quality or deciding whether custom cabinets are worth it.
Final Thought
A well-planned kitchen does not just look good. It works smoothly every day. That outcome starts with thoughtful planning, not just design inspiration.
A mudroom built-in can be designed around exactly how your household comes and goes each day. That often includes a bench for sitting, shoe storage or cubbies underneath, hooks for coats and bags, upper cabinets for seasonal items, and individual sections for each family member if needed.
In Ontario, mudrooms often need to handle more than just shoes and jackets. Wet boots, winter gear, backpacks, umbrellas, sports equipment, and everyday clutter all tend to pass through the same space.
That’s why a well-designed mudroom built-in can make such a difference. It helps contain the mess, keeps things easier to find, and makes the entry area feel much more organized.
One of the biggest advantages of refacing is how quickly it can be completed. Most professional refacing projects take about 3 to 5 days, which is much faster than a full cabinet replacement. Because the cabinet boxes stay in place, there’s no major demolition and far less disruption overall.
That shorter timeline matters a lot for families who still need to live in the home and use the kitchen as much as possible during the project. In many cases, refacing is simply easier to manage day to day.
Exact timing depends on the size of the kitchen and whether you’re adding upgrades, but compared to a full replacement, refacing is usually the much faster path.
Yes. Chase Cabinetry offers free project estimates. The more information you can share at the start — photos, measurements, your location, your goals, and your timeline — the more specific and helpful that estimate can be.
A good estimate should do more than give you a number. It should help clarify the scope of the project, the options available, and what direction makes the most sense for your home.
That first conversation is often where the project starts to feel more manageable, because it turns a general idea into something more concrete.
For painted cabinet doors, MDF is often the preferred material. The reason is simple: it creates a very smooth surface, with no grain lines showing through the paint. That helps painted doors look cleaner and more consistent, especially in lighter colours and more refined finishes.
Solid wood can also be painted, but wood naturally expands and contracts with seasonal humidity changes. In Ontario, where indoor humidity can shift quite a bit between winter and summer, that movement can sometimes lead to visible lines, cracks, or paint stress over time.
That’s why many cabinet makers use MDF or other stable engineered materials for painted doors, often with wood edging where needed. When combined with a good finish system, it usually gives the most consistent long-term result.
However, one consideration worth noting: MDF edges can be more vulnerable to chipping on impact than solid wood edges, which is why some cabinet makers use hardwood edging on MDF doors for added durability in high-traffic areas.
For homeowners who prioritize durability over cost, HDF (High-Density Fiberboard) is an excellent upgrade option. HDF is significantly denser than standard MDF, making it more resistant to moisture, edge damage, and impact. In kitchens where the painted doors are near the sink, dishwasher, or frequently used prep areas, HDF can outlast standard MDF by many years. It also resists edge chipping better and holds up better to the wear and tear of daily use. The cost is typically 10-20% higher than MDF, but for doors that will see heavy use, many homeowners consider it a worthwhile investment in longevity.
Simple styles tend to last the longest, which is why shaker and flat-panel doors are usually the safest long-term choices. They have clean lines, balanced proportions, and a look that isn’t overly tied to one specific trend. That matters when you’re making an investment you want to feel good about for years.
More ornate door styles, heavy mouldings, or trend-driven details can look impressive at first, but they often date more quickly. A simpler cabinet style gives you more flexibility if your tastes evolve or the rest of the room gets updated later.
Timeless design usually comes down to restraint. When the cabinet style is clean and well-proportioned, it’s much easier for the kitchen as a whole to age gracefully.